
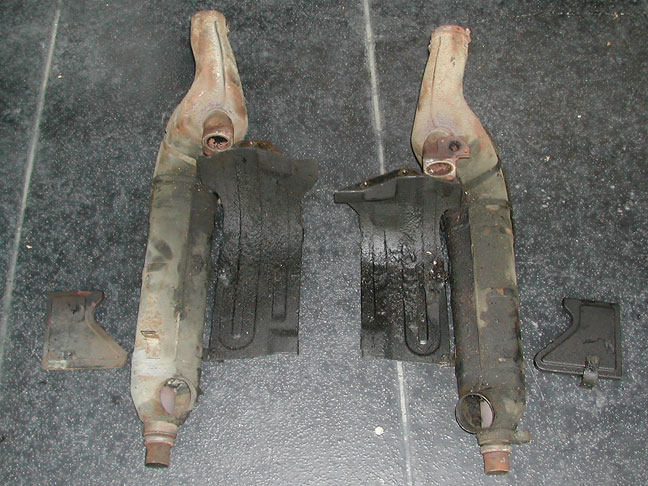
The small pieces of tin at the right and left were only used through the 1963 model year. They had been installed on the wrong sides as shown here. A broken mounting tab on the right heat exchanger had to be rebrazed before ceramic coating.
The heat exchangers had collected a lot of debris blown in from the fan housing over time. I pulled out a lot of junk including cardboard, feathers, insulation from the engine trapdoor, and even a metal intake manifold gasket. Next I had to strip the exchangers down and degrease them.
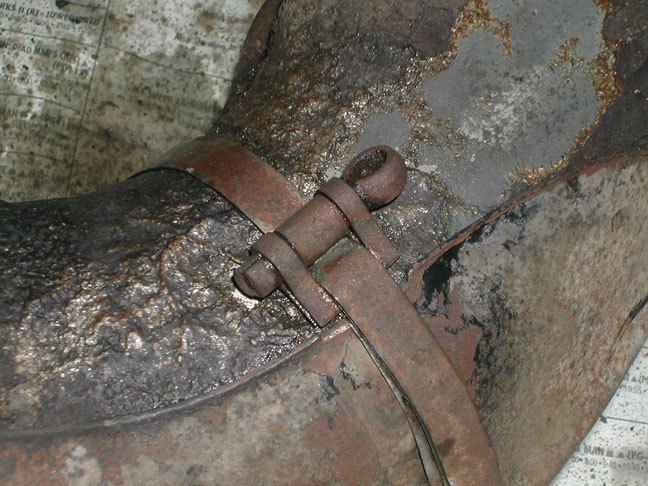
I made note of the way the stone shields were attached before taking them off.

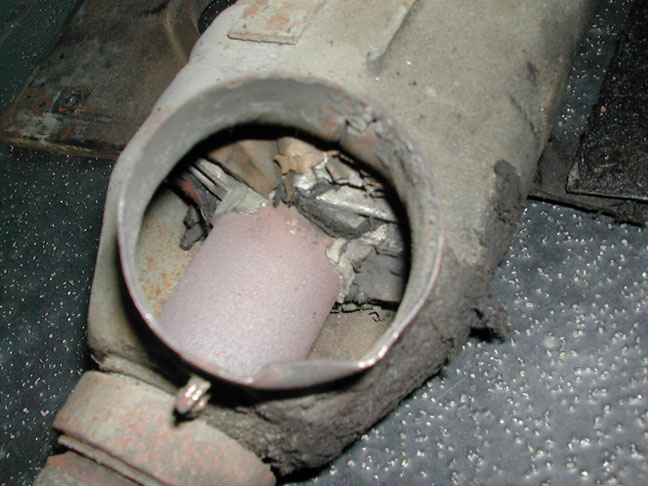
I knew early heat exchangers had sprayed-on insulation (the more familiar asbestos wrap was introduced in April 1963), but as the grease came off I was surprised to see that what was left of it was a metallic gold color.

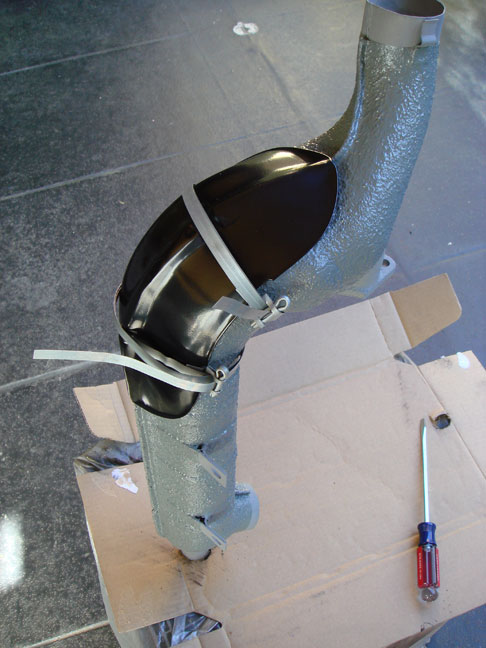
Here's a sample of the sprayed coating that I saved. It's about 1mm thick and flexible. I'm sure it's mostly asbestos. The dust from this stuff is not something you'd want to be breathing in. I did some research on substitutes for the coating and settled on Lizard Skin ceramic insulation. It's not cheap but it has properties that make it a good choice for the job: good heat and sound insulation, withstands temperatures to 500°F, water based and non-toxic. I applied it with a brush over ISP West's ceramic coating, recreating the original texture, and then gave it several coats of engine enamel. I considered painting the insulation gold like the original, but the only hi-temp gold paint I could find had a little too much 24-carat bling for me, so I settled for gray:

The next job was to reinstall the freshly powder-coated stone shields. NOS straps were sourced from BerT3 in Belgium. I considered buying bulk strapping from a source like McMaster-Carr (a highly recommended source for industrial supplies), but when I added it all up Bert's NOS straps cost only a little more. Always use NOS parts when practical! Here's the installation procedure:
Position the shield and straps loosely. VW put the clamps inboard.
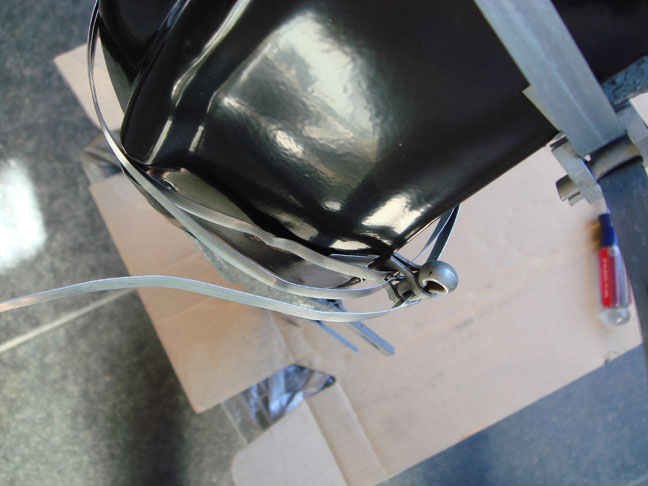
This detail shows the way the straps should be threaded. The strap wraps around the heat exchanger once, threads through the rectangular hole on the clamp, then wraps around a second time and threads through the cotter key. Pull in the slack and then trim off some of the excess strapping. Then tighten the key with a screwdriver a half turn at a time, stopping to adjust the strap and reposition as necessary as you go.
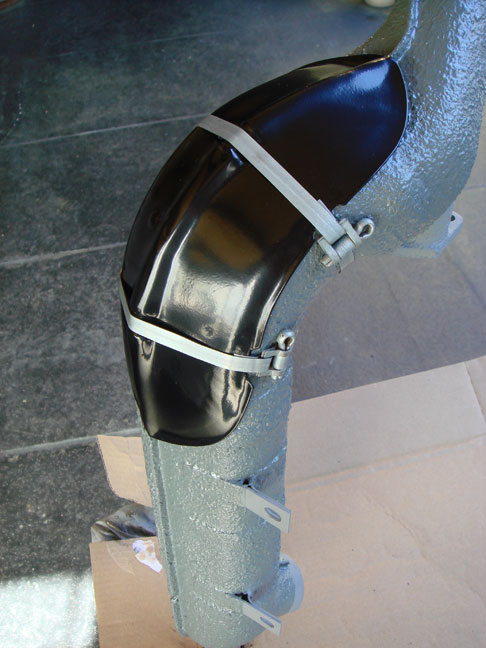
Here's a shield clamped in place.
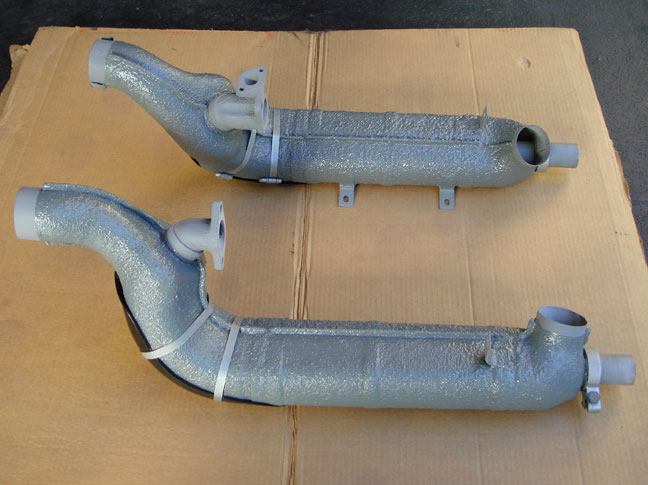
And both finished heat exchangers ready to install.
2 comments:
I sure wish the heat exchangers on my 1963 KG looked as good as yours!
Thanks -- it was a lot of work but I think it was worth the trouble.
Post a Comment